On this post, we’ll see how to deploy an Azure Bicep template using the power of Github Actions
For security reasons, all the GUIDs you see in this post, whether in text or image format, are fictitious
Step 1: Make your Azure Bicep template
The following Azure Bicep template will create some resources within a subscription:
- Resource Group
- Static Web App
We could include all the necessary resources, dependencies, and secrets capture, but for now that’s enough.
This is the structure of our example:
├── 📁 modules
│   ├── 📄 static-web-app-module.bicep
└── 📄 template.bicep
Here is the template.bicep file:
targetScope = 'subscription'

@description('the location of the resource group')
param location string

resource resourceGroup 'Microsoft.Resources/resourceGroups@2022-09-01' = {
  name: 'my-resource-group'
  location: location
}

module staticAppDeployment './modules/static-web-app-module.bicep' = {
  name: 'static-web-app-deployment'
  scope: resourceGroup
  params: {
    staticAppName: 'my-static-web-app'
  }
}
And here is the static-web-app-module.bicep file:
@description('static app name')
param staticAppName string

resource staticWebSite 'Microsoft.Web/staticSites@2022-03-01' = {
  location: resourceGroup().location
  name: staticAppName
  sku: {
    name: 'Free'
    tier: 'Free'
  }
}
Step 2: Generate a Service Principal
Here are some steps to create a Service Principal on Azure, but you can find a better and more comprehensive explanation in the Microsoft Learning docs.
There are two flavors to create a Service Principal
With command line
az login --tenant <tenantId>
After login process, you will see the subscriptions where you can access. Capture the property id of subscription where you want to deploy your resources.
az ad app create --display-name <service-principal-name>
Capture the property appId from Azure CLI response and pass it to the next command.
az ad app credential reset --id <appId>
Azure CLI will show a response like this:
{
  "appId": "a62a6111-0ffd-4ebd-8c84-a53c86fc59c8",
  "name": "a62a6111-0ffd-4ebd-8c84-a53c86fc59c8",
  "password": "KkkBeJ6a~eC6S_huBs-G9rD0-RovtBPIz~",
  "tenant": "d03f08c9-a5cc-4f4c-b063-b3775fb9824b"
}
Then capture the properties password and tenant from Azure CLI response
With Azure Portal
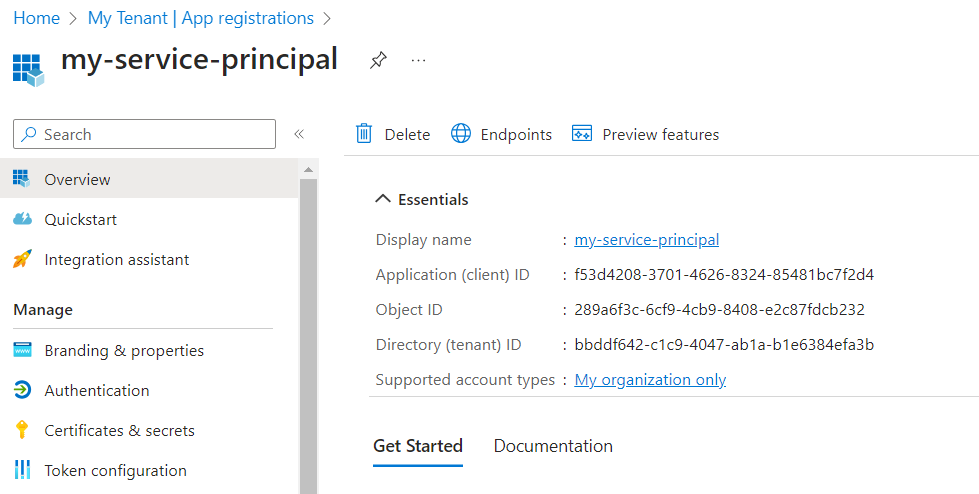
First, you should access the Azure Active Directory in witch you want to deploy your resources and navigate to the App Registration blade.
Next, click on New registration and assign a propper name.
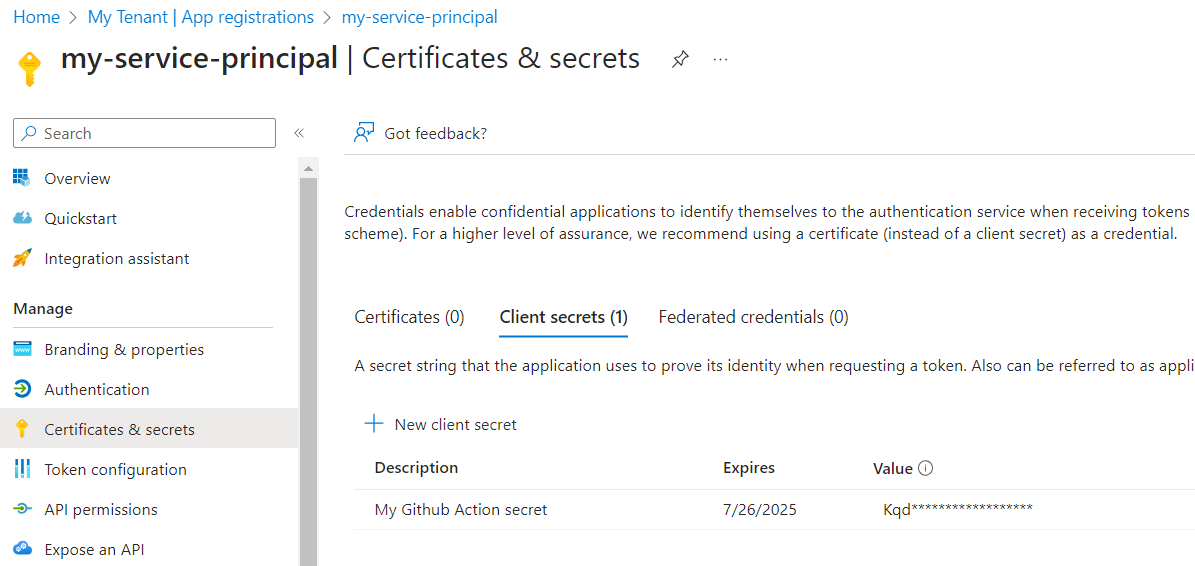
Now, navigate to Certificates & secrets, generate a new secret, and capture its value (be careful).
We also need to navigate to Certificates & secrets, generate a new one secret and capture the value (be carefull).
Then go to your subscription (who pays the party) to capture the property Subscription ID, then access to Access control (IAM) and assing the recently created Service Principal the Contributor permission.
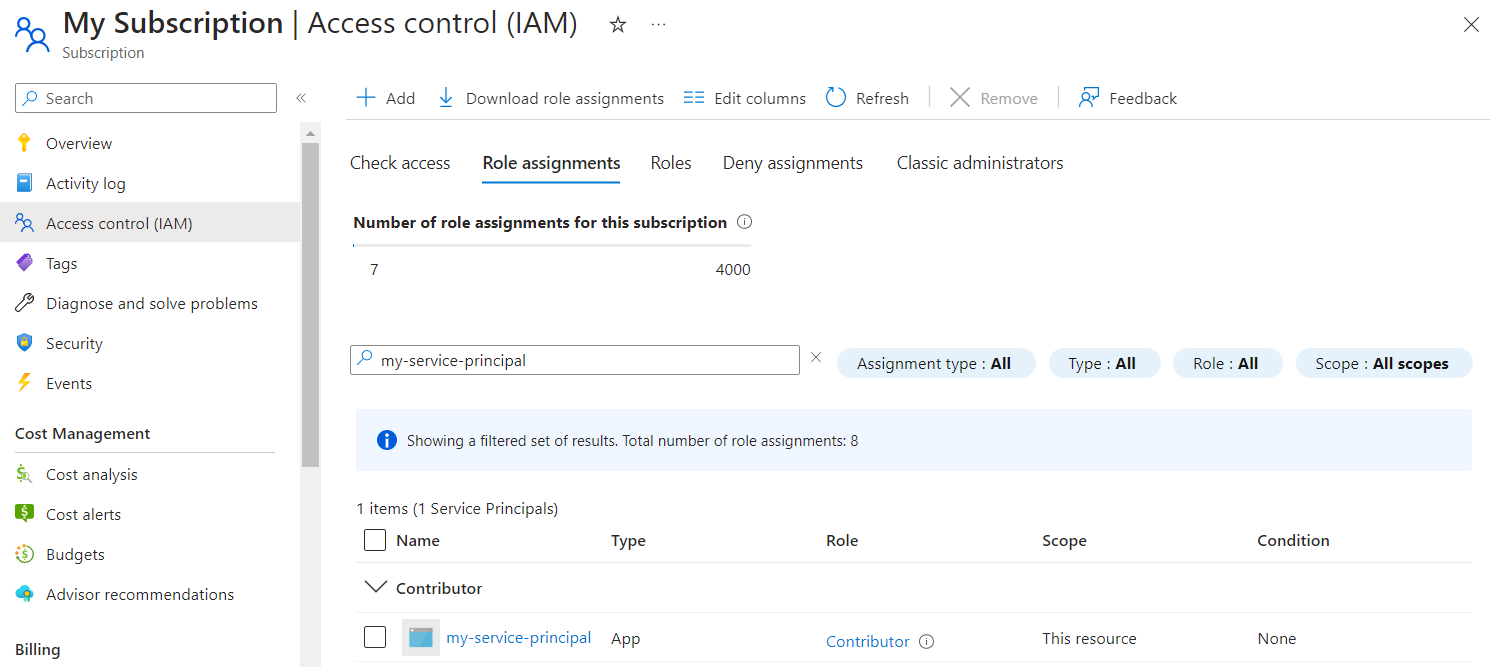
Contributor permissions could be excessive, so you should fine-tune the access level.
At this checkpoint you should have the following properties:
- Application (client) ID
- Directory (tenant) ID
- Secret value
- Subscription ID
Step 3: Store configuration in your Github repository
The previous values should be stored in Github Actions secrets settings section (or the vault you prefer, like Azure Key Vault) witch is available on this section: https://github.com/{user}/{repository}/settings/secrets/actions
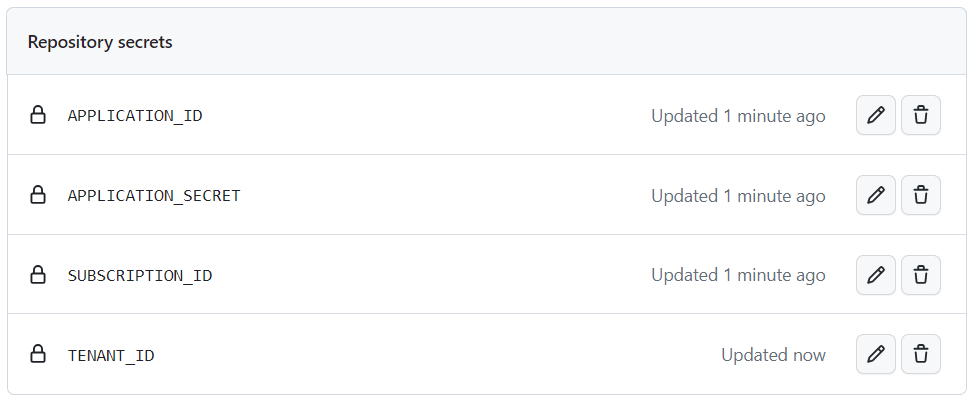
🚨 But remember, never hardcode your secrets!
Step 4: Make the Github Action
The following .yml file will do some things:
- Log in into Azure using the action azure/login@v1 and the parameters you obtained in previous steps. This action does exactly the same thing that you do on your own machine when you run the
az logincommand, but using a JSON.
{
  "clientId": "ec8b0ea7-436c-4a4e-93e9-ded6152c27c1",
  "clientSecret": "KkkBeJ6a~eC6S_huBs-G9rD0-RovtBPIz~",
  "subscriptionId": "864358cc-35af-456d-96da-2244f9f2aa76",
  "tenantId": "864358cc-35af-456d-96da-2244f9f2aa76"
}
- It will then deploy the Azure Bicep template using the action azure/arm-deploy@v1. In this case, the action does the same as the command
az deployment sub create --location <location> --template-file <path-to-bicep>
name: deploy bicep template
on:
  push:
    branches:
      - main
  workflow_dispatch:

permissions:
  contents: read

jobs:

  main:
    runs-on: ubuntu-latest

    steps:

      - name: '🔻 checkout'
        uses: actions/checkout@v2

      - name: '🔓 az login'
        uses: azure/login@v1
        with:
          creds: '{"clientId": "${{ secrets.APPLICATION_ID }}", "clientSecret": "${{ secrets.APPLICATION_SECRET }}", "subscriptionId": "${{ secrets.SUBSCRIPTION_ID }}", "tenantId": "${{ secrets.TENANT_ID }}"}'

      - name: '🚀 deploy'
        uses: azure/arm-deploy@v1
        with:
          subscriptionId: ${{ secrets.SUBSCRIPTION_ID }}
          template: './template.bicep'
          region: 'westeurope'
          deploymentName: "deployment-${{ github.run_id }}"
          parameters: 'location="westeurope"'
          failOnStdErr: false
          scope: 'subscription'

      - name: '🔒 az logout'
        run: |
            az logout
        if: always()
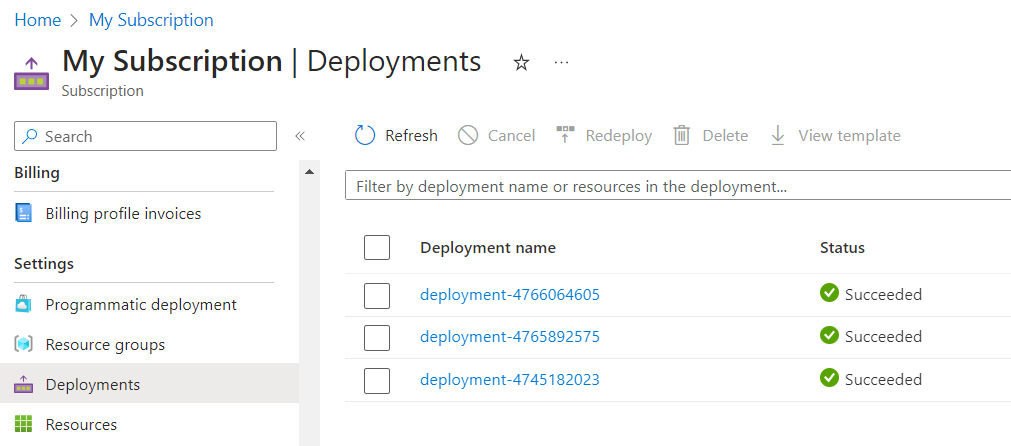
After executing the template, you can navigate to your subscription and then to the Deployments section, usually accesible via this link
And… that’s it folks!